Are you looking to edit a TIFF file in AutoCAD? In this step-by-step guide, we’ll show you how to convert a GeoTIFF file to CAD format and utilize tools like Raster Design and Scan2CAD to enhance your editing capabilities. Whether you’re editing individual lines or objects, associating complex properties, or preserving georeferencing metadata, this guide will help you navigate the process with ease.

To begin, let’s first understand the advantages of converting a GeoTIFF file to CAD format. GeoTIFF files are powerful as they allow the attachment of georeferencing data to high-quality images. However, CAD file formats such as DWG and DXF offer infinite scalability, the ability to edit individual elements, and the option to associate complex properties, making them ideal for editing TIFF files in AutoCAD.
Key Takeaways:
- Converting a GeoTIFF file to CAD format opens up possibilities for scaling, editing, and associating complex properties with different elements in AutoCAD.
- Manual tracing and automatic tracing are two methods for converting GeoTIFF files to CAD format.
- Tools like Scan2CAD preserve the georeferencing metadata, allowing for accurate conversions.
- Raster Design is an AutoCAD add-on that enables the editing and conversion of raster images into AutoCAD entities.
- Converting AutoCAD drawings to TIFF format offers security, compatibility, and wider accessibility.
About GeoTIFF and its Benefits
GeoTIFF is an extension of the TIFF format that allows users to include georeferencing data inside the tags of the image. It is based on the TIFF format, which stands for Tagged Image File Format and allows the attachment of metadata to the image in the form of tags. GeoTIFF files can contain geographic coordinates, map projection properties, coordinate systems, ellipsoids, and geodetic datums. However, not all programs support or use all of GeoTIFF’s tags.
Converting from GeoTIFF to CAD formats offers several benefits, including the ability to zoom in or scale the image without losing quality. This provides infinite scalability, allowing for detailed and precise editing of the image in AutoCAD. In addition, converting to CAD formats enables the editing of individual lines or objects within the image, allowing for greater flexibility and customization. Complex properties can also be associated with different elements in the image, providing enhanced data context and analysis capabilities.
GeoTIFF’s georeferencing data can be preserved during the conversion to CAD formats, ensuring that important spatial information is retained. This is particularly useful in GIS applications, where the accurate representation of geographic data is essential. By converting GeoTIFF files to CAD formats, such as DWG or DXF, users can leverage the advantages of both raster and vector data, combining the visual quality of high-resolution images with the editing and analysis capabilities of CAD software.
Table: Comparison of GeoTIFF and CAD Formats
| Aspect | GeoTIFF | CAD Formats (DWG, DXF) |
|---|---|---|
| Raster vs Vector | Raster | Vector |
| Georeferencing | Can contain georeferencing data | Can preserve georeferencing data |
| Scalability | May lose quality when scaled | Allows infinite scalability without loss of quality |
| Editability | Limited editing capabilities | Allows for precise editing of individual lines or objects |
| Data Context | Limited ability to associate complex properties with elements | Enables association of complex properties with elements for enhanced data context |
Converting from GeoTIFF to CAD
Converting a GeoTIFF file to CAD involves transforming the raster image into a vector representation. This can be done through either manual tracing or automatic tracing methods. Manual tracing requires drawing vector lines on top of the raster image using a mouse or graphics pen. On the other hand, automatic tracing uses software like Scan2CAD to quickly convert the image to a vector format.
When converting GeoTIFF files, it is crucial to preserve the georeferencing metadata along with the image itself. This metadata contains important information such as the model tie point, model pixel scale, and raster type, which help maintain the spatial properties of the image.
| Method | Advantages | Disadvantages |
|---|---|---|
| Manual Tracing | – Allows for precise control over the vectorization process – Suitable for simple or low-complexity images |
– Time-consuming for complex or detailed images – Requires manual dexterity and skill |
| Automatic Tracing | – Provides fast and efficient vectorization – Suitable for complex or high-detail images |
– May not accurately capture fine details – Requires specialized software |
One professional tool for converting GeoTIFF files to CAD is Scan2CAD. This software preserves the georeferencing metadata, allowing users to access the spatial data and set the export scale settings before converting the GeoTIFF file to CAD. Whether using manual tracing or automatic tracing methods, converting from GeoTIFF to CAD offers the advantage of a vector representation, which allows for easy scaling, editing of individual elements, and association of complex properties with different image components.

Overall, the process of converting GeoTIFF files to CAD requires careful consideration of the tracing method and the preservation of georeferencing metadata. By utilizing tools like Scan2CAD, users can effectively convert GeoTIFF files to CAD while maintaining the spatial properties of the image, enabling further editing and analysis within CAD programs.
Step-by-Step Guide to Converting GeoTIFF to CAD in Scan2CAD
In this section, we will provide a step-by-step guide on how to convert a GeoTIFF file to CAD format using Scan2CAD. Scan2CAD is a professional tool that allows for the conversion of raster images, such as GeoTIFF files, into editable vector formats like DWG and DXF.
Follow these steps to convert a GeoTIFF file to CAD using Scan2CAD:
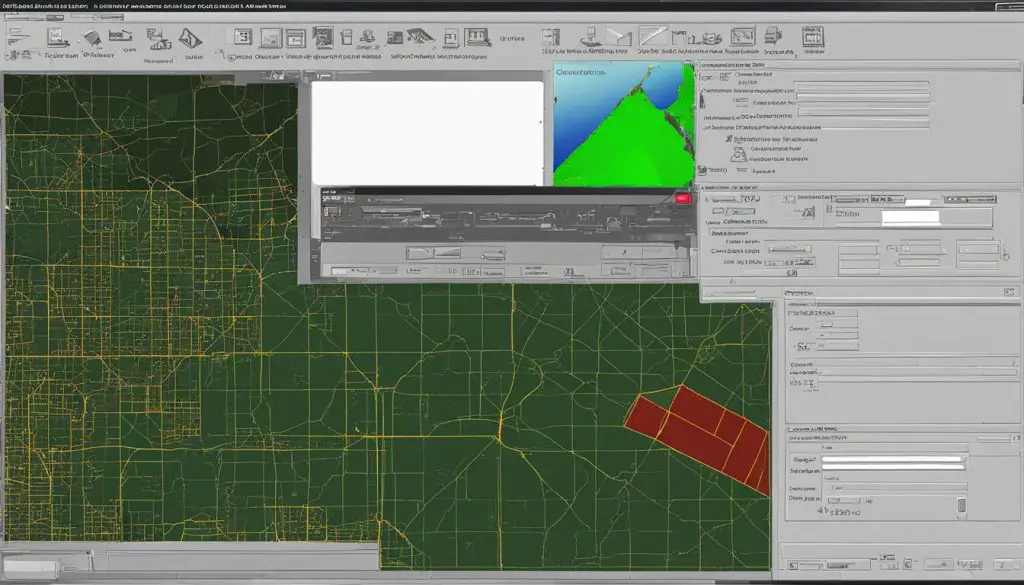
- Open the GeoTIFF file in Scan2CAD by clicking File > Raster > Load.
- Use Scan2CAD’s raster cleanup tools to enhance the quality of the vector image.
- Set the export scale settings to preserve the georeferencing information for accurate spatial representation.
- Apply one of Scan2CAD’s vectorization settings that best suits your needs and image characteristics.
- Click the convert button to initiate the conversion process. Scan2CAD will convert the GeoTIFF file into a usable vector format, either a DWG or DXF file.
- If you have multiple AutoCAD drawings, you can merge them into a single TIFF using the Append feature in Scan2CAD for better organization and presentation.
- Customize the settings to meet your exact requirements by accessing the print dialog in Scan2CAD. This will allow you to adjust parameters such as paper size, orientation, and color options.
By following these simple steps, you can easily convert GeoTIFF files to CAD format using Scan2CAD. This opens up a world of possibilities for editing and manipulating the image in AutoCAD, while still preserving the georeferencing information and ensuring accuracy in spatial representation.
How to Edit a TIFF File in AutoCAD with Raster Design
If you’re looking to edit raster images in AutoCAD, the Raster Design add-on is the perfect tool to help you achieve your goals. This add-on allows users to easily incorporate pixelated images into their drawings, providing the ability to convert pixels into AutoCAD entities for further editing using standard AutoCAD commands.
Raster Design offers a range of useful tools that can enhance your editing capabilities with raster images. You can insert and position images, change color depths, invert colors, despeckle, perform manual touch-ups, and even convert pixelated lines into vector lines. With these features at your disposal, you have the flexibility to make precise edits and adjustments to your raster images.

One of the key advantages of using Raster Design is its ability to convert pixels into editable AutoCAD entities. This means that you can treat raster images just like any other element in your AutoCAD drawing, allowing for seamless integration and workflow. Whether you need to modify specific areas of an image or incorporate it into a larger design, Raster Design provides the necessary tools to make your editing process efficient and effective.
PDF Presentation Feature
In addition to its editing capabilities, Raster Design also offers a PDF presentation feature. This allows you to create a PDF file that contains multiple raster images, providing a convenient way to showcase your work or present it to clients and colleagues. With this feature, you can easily compile and present your edited raster images in a professional and visually appealing format.
Summary:
- The Raster Design add-on for AutoCAD enables users to edit raster images effortlessly.
- It allows for the conversion of pixels into AutoCAD entities for seamless integration and workflow.
- With tools such as image insertion, color modification, and vectorization, users have the flexibility to make precise edits and adjustments.
- The PDF presentation feature in Raster Design makes it easy to compile and present edited raster images in a professional manner.
Benefits of Converting AutoCAD to TIFF
Converting AutoCAD drawings to TIFF format offers several advantages for users. One of the key benefits is the high level of security that TIFF images provide. Once converted, TIFF files are difficult to alter, making them a suitable format for protecting sensitive drawing information. This can be particularly important when sharing drawings with clients or colleagues, ensuring that the integrity of the design is maintained.
Additionally, TIFF is a widely supported format that can be viewed by virtually anyone. It is commonly used for faxing, printing in professional print shops, and archiving important documents. By converting AutoCAD drawings to TIFF, users can ensure that the information in the drawing is preserved and easily accessible by others.
In summary, the benefits of converting AutoCAD to TIFF include:
- High level of security, making it difficult to alter the drawing
- Compatibility with various software applications
- Ability to easily share and archive drawings
Overall, converting AutoCAD drawings to TIFF format provides a reliable and efficient way to protect drawing information and ensure its accessibility to others.
Conclusion
In conclusion, editing a TIFF file in AutoCAD can be accomplished through the conversion process and the utilization of specialized tools such as Raster Design or Scan2CAD. By following the step-by-step guide provided in this article, users can gain the necessary knowledge and techniques to effectively modify TIFF files within the AutoCAD environment.
Converting from GeoTIFF to CAD formats not only offers infinite scalability but also grants the ability to edit individual lines or objects, as well as associate complex properties with different elements in the image. These practices enhance drafting skills and productivity while allowing for precise customization of the design.
Moreover, converting AutoCAD drawings to the TIFF format provides numerous benefits, such as protecting drawing information through the format’s inherent security. TIFF is widely supported by various software applications, making it easily accessible and viewable by others. This compatibility ensures the preservation and accessibility of the information contained within the drawing.
By understanding the process of editing a TIFF file in AutoCAD and utilizing the appropriate tools, users can expand their capabilities and maximize their efficiency in working with raster images. These autocad tiff file editing tips, techniques, and best practices empower individuals to modify TIFF files effectively within the AutoCAD software, fostering growth and success in drafting endeavors.
