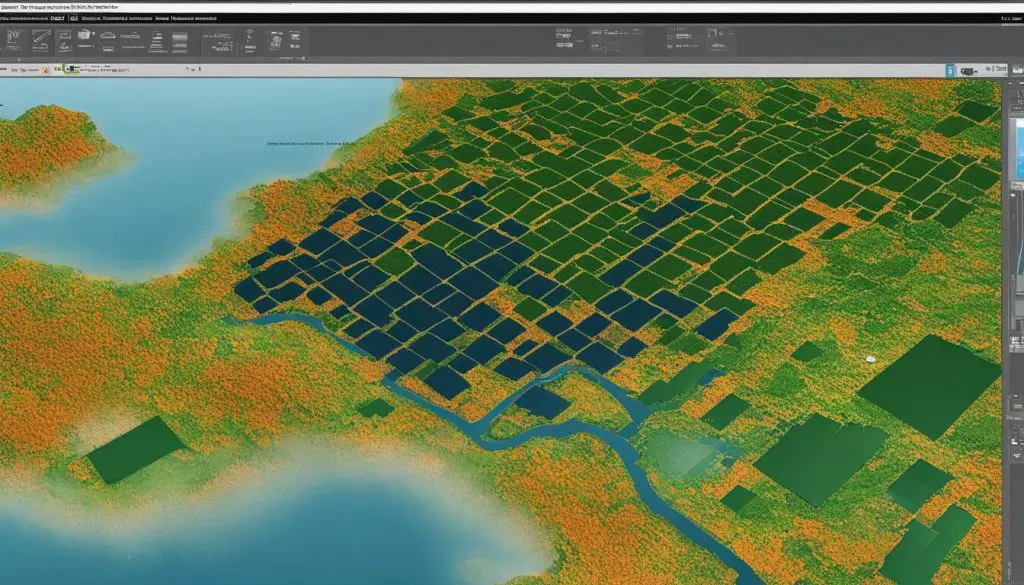
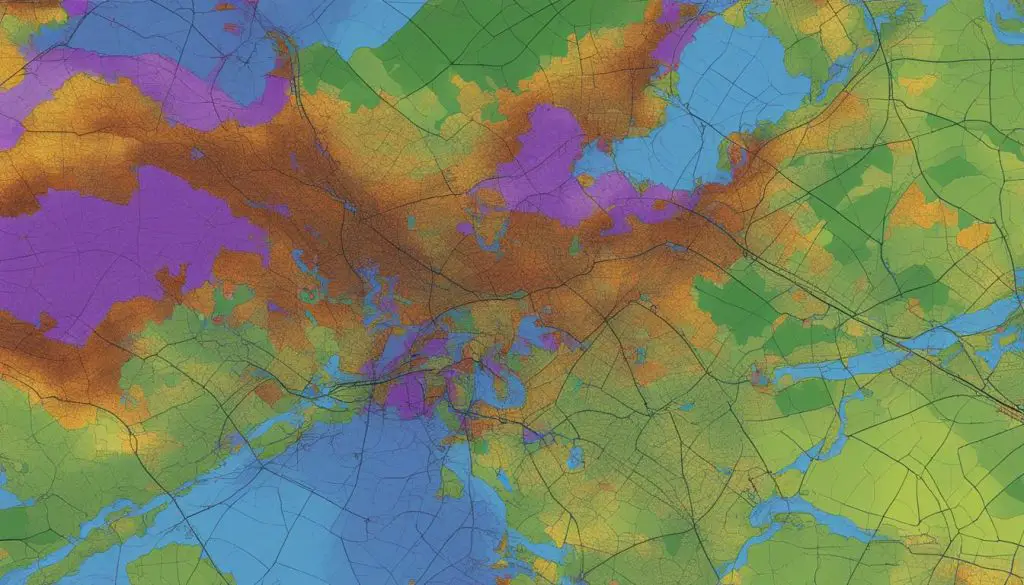
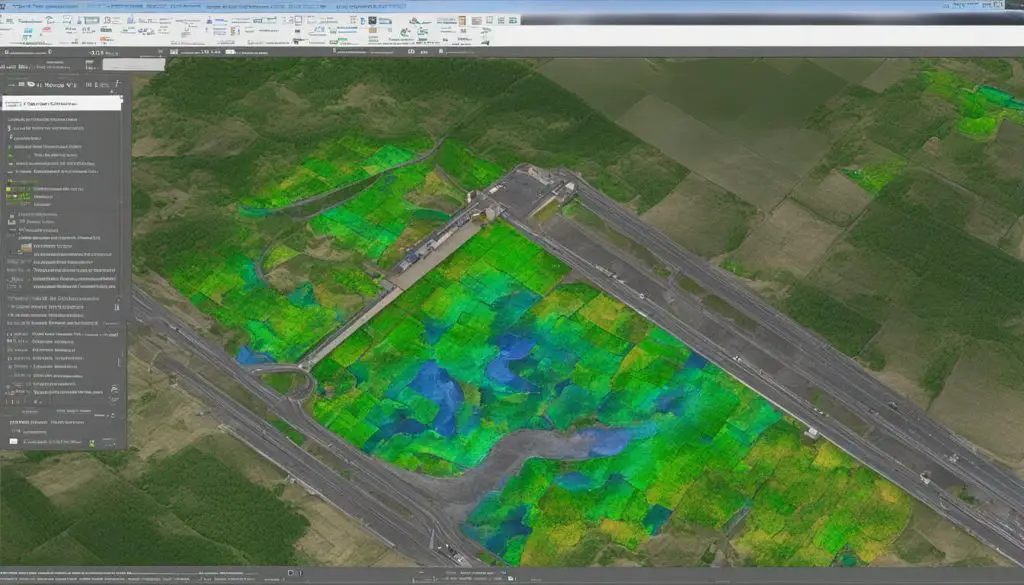
Converting a TIFF file to a shapefile in ArcGIS allows for the transformation of a raster dataset into polygon features. The input raster can be of any cell size and must be a valid integer raster dataset. The output feature class will contain polygons representing the raster cells. The Field parameter can be used to specify an attribute field in the input raster to become an attribute in the output shapefile. The Simplify polygons option determines whether the output polygons will be smoothed into simpler shapes or conform to the input raster’s cell edges. Additionally, the Maximum vertices per polygon feature parameter can be used to subdivide a polygon into smaller polygons based on a specified vertex limit.

Key Takeaways:
- Converting a TIFF file to a shapefile in ArcGIS allows for the transformation of raster data into polygon features.
- The input raster must be a valid integer raster dataset of any cell size.
- The output shapefile will contain polygons representing the raster cells.
- Parameters such as Field, Simplify polygons, and Maximum vertices per polygon feature can be adjusted to customize the output shapefile.
- Converting TIFF to Shapefile in ArcGIS can enhance GIS tasks and facilitate spatial analysis.
Requirements for Converting TIFF File to Shapefile in ArcGIS
In order to successfully convert a TIFF file to a shapefile in ArcGIS, there are certain requirements that need to be met. Firstly, the input raster must be of integer type. This means that the pixel values in the raster dataset should be whole numbers and not decimal values. If your TIFF file is not of integer type, you may need to convert it to this format before proceeding with the conversion process.
The second requirement is that the output shapefile can be created either in ArcCatalog or by using the Create Feature Class tool. When creating the shapefile, it is important to define the types of features it will contain. For example, if your raster represents routes with m-values, you will need to specify this when creating the shapefile. Similarly, if your raster has three-dimensional information with z-values, you will need to define this as well.
Lastly, it is crucial to define the coordinate system of the shapefile during the creation process. This ensures that the spatial reference of the shapefile matches that of the input raster, allowing for accurate georeferencing of the polygon features. By meeting these requirements, you can ensure a smooth and successful conversion of your TIFF file to a shapefile in ArcGIS.
Requirements for Converting TIFF File to Shapefile in ArcGIS:
| Requirement | Description |
|---|---|
| Input Raster Type | The input raster must be of integer type, with pixel values represented as whole numbers. |
| Output Shapefile Creation | The output shapefile can be created in ArcCatalog or using the Create Feature Class tool. |
| Feature Types | The shapefile needs to be defined with the appropriate feature types, such as routes or three-dimensional information. |
| Coordinate System | The coordinate system of the shapefile should be defined during the creation process to ensure accurate georeferencing. |
By fulfilling these requirements, you can effectively convert your TIFF file to a shapefile in ArcGIS and harness the power of polygon features in your GIS analyses.
Step-by-Step Guide to Convert TIFF File to Shapefile in ArcGIS
If you’re looking to convert a TIFF file to a shapefile in ArcGIS, follow these step-by-step instructions to achieve a successful conversion. This guide will help you navigate through the process, ensuring that your resulting shapefile accurately represents the raster data.
Create a New Shapefile Layer
To begin, open the TIFF file in ArcGIS and specify the output shapefile path. Next, create a new shapefile layer and define the correct spatial reference for your data. This step is crucial in ensuring that your shapefile aligns properly with other GIS datasets.
Convert Raster to Vector Format
Once you have set up your shapefile layer, use the RasterToPolygon function to convert the TIFF file to a vector format. This function will generate polygons that represent the raster cells, allowing for further analysis and manipulation of the data. You can also use the Simplify parameter to smooth the output polygons if desired. It’s important to note that the output feature class will contain attributes based on the input raster, which can be specified using the Field parameter.
Finalize and Clean Up
After converting the TIFF file to a shapefile, take some time to review the output and make any necessary adjustments or clean-up. Check for any unwanted small polygons or anomalies that may have been generated during the conversion process. This ensures that your final shapefile is clean and accurately represents the underlying raster data. Once you’re satisfied with the results, save and close the shapefile and raster files.
By following these step-by-step instructions, you can successfully convert a TIFF file to a shapefile in ArcGIS. This conversion process allows for the transformation of raster data into polygon features, enabling easier analysis, manipulation, and integration within the GIS environment.
Troubleshooting Common Issues in TIFF to Shapefile Conversion
Converting a TIFF file to a shapefile in ArcGIS can sometimes encounter certain issues that may require troubleshooting. This section will address some common problems and provide potential solutions to ensure a successful conversion process.
Pencil Drawn Lines in the Raster
One issue that may arise during TIFF to shapefile conversion is the presence of pencil drawn lines in the raster. These pencil lines can result in irregular or unwanted shapes in the output shapefile. To resolve this, it is recommended to preprocess the raster by digitizing the pencil map sketch. Digitizing the lines manually or using image preprocessing techniques can help extract the desired lines and create accurate polygon features in the shapefile.
Generation of Small, Unnecessary Polygons
Another common issue is the generation of small, unnecessary polygons in the output shapefile. This can occur due to variations in the raster data or the conversion process. To address this, additional simplification or cleaning steps may be necessary after the conversion. This can involve using tools like gdal, ogr, or osgeo to further refine the shapefile and remove unwanted small polygons.
Utilizing GDAL, OGR, and OSGeo Libraries
When troubleshooting issues in TIFF to shapefile conversion, utilizing relevant libraries such as gdal, ogr, and osgeo can provide additional functionality and troubleshooting options. These libraries offer a range of tools and functions that can help preprocess the raster, refine the shapefile, and address any specific issues that may arise during the conversion process.

Summary
Converting a TIFF file to a shapefile in ArcGIS may encounter issues such as pencil drawn lines in the raster or the generation of small, unnecessary polygons. Preprocessing techniques like digitizing the pencil map sketch can help address the presence of pencil lines, while additional simplification or cleaning steps may be necessary to remove unwanted polygons. By utilizing libraries like gdal, ogr, and osgeo, users can enhance their troubleshooting capabilities and overcome common issues in TIFF to shapefile conversion.
Limitations and Alternatives in TIFF to Shapefile Conversion
Converting a TIFF file to a shapefile in ArcGIS has its limitations. One of the main limitations is that the input raster must be of integer type. This means that if the TIFF file contains floating-point values or non-numeric data, it cannot be directly converted to a shapefile. Additionally, the conversion process may not always accurately represent the raster data in the output shapefile. For example, if the raster contains pencil drawn lines, the output shapefile may have weird shapes that do not accurately reflect the original data.
However, there are alternative tools and libraries that can provide more robust solutions for TIFF to shapefile conversion. GDAL (Geospatial Data Abstraction Library), OGR (Simple Features Library), and OSGeo (Open Source Geospatial Foundation) are commonly used libraries in the geospatial community. These libraries offer a wide range of functionalities for data manipulation, including raster to vector conversion. By utilizing these libraries, users can have more control over the conversion process and address any limitations or issues that may arise.
It is important for users to carefully consider the limitations and explore alternative solutions when converting a TIFF file to a shapefile in ArcGIS. By leveraging the capabilities of libraries like GDAL, OGR, and OSGeo, users can overcome the limitations and achieve more accurate and reliable conversions. These libraries provide additional functionalities and options for preprocessing, cleaning, and manipulating the data to ensure the desired output is obtained.
Table: Comparison of TIFF to Shapefile Conversion Options
| Conversion Option | Advantages | Limitations |
|---|---|---|
| ArcGIS Conversion Tool | Integrated solution within ArcGIS environment | Limited control over conversion process |
| GDAL/OGR Library | Flexible and customizable conversion options | Requires familiarity with command-line interface |
| OSGeo Suite | Comprehensive suite of open-source geospatial tools | Steep learning curve for beginners |
This table provides a comparison of different options for converting TIFF files to shapefiles. The ArcGIS Conversion Tool is a straightforward and integrated solution within the ArcGIS environment. However, it may have limitations in terms of control and customization. On the other hand, the GDAL/OGR library offers more flexibility and options for customization, but it requires some familiarity with the command-line interface. The OSGeo Suite provides a comprehensive set of open-source geospatial tools, but it may have a steeper learning curve for beginners.
Best Practices for Converting TIFF File to Shapefile in ArcGIS
When converting a TIFF file to a shapefile in ArcGIS, following best practices can help ensure a successful and accurate conversion. Here are some key recommendations:
1. Thoroughly Preprocess the Input Raster
A crucial step in the conversion process is to preprocess the input raster to address any issues that may affect the accuracy of the output shapefile. This can include removing noise, correcting pixel values, or enhancing visibility. Image preprocessing techniques, such as filtering, thresholding, or histogram equalization, can be applied using libraries like GDAL, OGR, or Osgeo.
2. Review and Clean Up the Output Shapefile
Once the conversion is complete, it is important to closely review the resulting shapefile. Check for any small or unwanted polygons that may have been generated during the conversion process. Additionally, ensure that the attributes and spatial information are correctly preserved. If necessary, perform cleanup or simplification steps to achieve the desired final result.
3. Consider Alternative Tools and Libraries
In some cases, alternative tools or libraries can provide more robust solutions for TIFF to shapefile conversion. GDAL, OGR, and Osgeo are powerful geospatial libraries that offer additional functionality and troubleshooting options. Exploring these tools can help overcome limitations or enhance the conversion process, especially when dealing with complex raster datasets or specialized requirements.
By following these best practices, you can enhance the accuracy and efficiency of converting a TIFF file to a shapefile in ArcGIS. Thorough preprocessing, careful review of the output shapefile, and considering alternative tools can contribute to a successful conversion process and facilitate further analysis and visualization within a GIS environment.

Applications and Benefits of TIFF to Shapefile Conversion in ArcGIS
Converting a TIFF file to a shapefile in ArcGIS offers a wide range of applications and benefits in the field of GIS. By transforming a raster dataset into polygon features, this conversion process enables easier analysis and manipulation of data within the GIS environment. Shapefiles have numerous uses in spatial analyses, such as overlay operations and spatial statistics, allowing for a deeper understanding of geographic patterns and relationships.
One of the key benefits of converting TIFF to shapefile is the ability to integrate the resulting shapefile into existing GIS workflows seamlessly. This allows for the incorporation of raster data into a broader geospatial context, enabling more comprehensive analysis and decision-making. Furthermore, the converted shapefile can be easily shared and utilized in various geospatial applications, enhancing collaboration and data exchange among professionals in the field.
Another significant application of TIFF to shapefile conversion lies in the field of convolutional neural networks (CNNs). CNNs are widely used in image processing and computer vision tasks, and the availability of raster data in shapefile format allows for the integration of these deep learning techniques with geospatial analysis. This combination enhances the capabilities of GIS by facilitating the extraction of meaningful information from raster data using advanced machine learning algorithms, leading to more accurate and insightful results.
Comparison of TIFF to Shapefile Conversion: ArcGIS vs. Alternative Tools
| Feature | ArcGIS | Alternative Tools (gdal, ogr, osgeo) |
|---|---|---|
| Ability to handle large datasets | Yes | Yes |
| Flexibility in attribute mapping | Yes | Yes |
| Integration with existing GIS workflows | Yes | Yes |
| Availability of advanced image preprocessing | No | Yes |
| Compatibility with convolutional neural networks | No | Yes |
Converting a TIFF file to a shapefile in ArcGIS unlocks a multitude of applications and benefits in the GIS field. It allows for easier analysis and manipulation of raster data, seamless integration with existing workflows, and compatibility with advanced techniques like convolutional neural networks. Alternative tools like gdal, ogr, and osgeo also offer similar capabilities, with the added advantage of advanced image preprocessing and enhanced compatibility with machine learning algorithms. Understanding the applications and benefits of TIFF to shapefile conversion empowers GIS professionals to leverage this process for more advanced spatial analysis and decision-making.
Conclusion
In conclusion, the process of converting a TIFF file to a shapefile in ArcGIS provides a valuable tool for GIS professionals and enthusiasts alike. By following the step-by-step guide outlined in this article, users can successfully transform raster datasets into polygon features, allowing for easier analysis and manipulation of spatial data.
However, it is important to be aware of the limitations and potential issues that may arise during the conversion process. Addressing these limitations, such as the presence of pencil drawn lines or the need for additional preprocessing steps, can be achieved through the utilization of relevant libraries like gdal, ogr, and osgeo.
By adhering to best practices, such as thorough image preprocessing and careful review of the output shapefile, users can ensure the accuracy and reliability of their converted shapefile. This opens up a wide range of applications and benefits, including spatial analysis, data visualization, and integration into existing GIS workflows.
Congratulations on acquiring the knowledge and skills necessary to convert a TIFF file to a shapefile in ArcGIS. By harnessing this powerful functionality, you are well-equipped to enhance your GIS tasks and boost your overall productivity in the field of geospatial analysis.
