Are you looking to create a new PSD file in Adobe Photoshop? Whether you’re a beginner or an experienced designer, this step-by-step guide will walk you through the process. From opening an image file to saving your final design, we’ve got you covered.
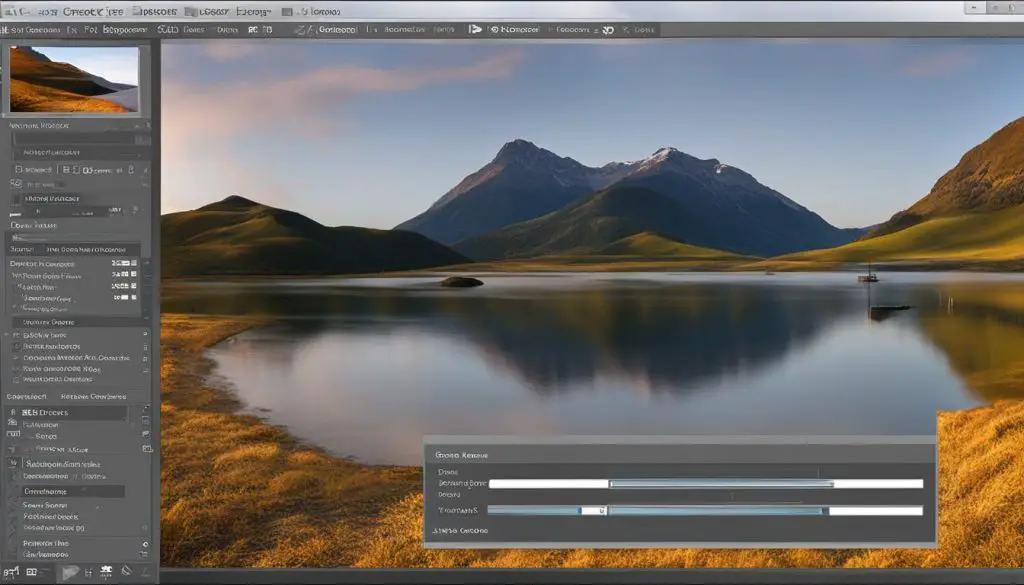
First, let’s launch Adobe Photoshop. Any version of the software will support the creation of PSD files. Once you have it open, you can start by opening an existing image file you want to make changes to. Simply go to “File > Open” and select the desired image.
If you prefer to start from scratch, you can also create a new project by going to “File > New”. This will give you a blank canvas to work with.
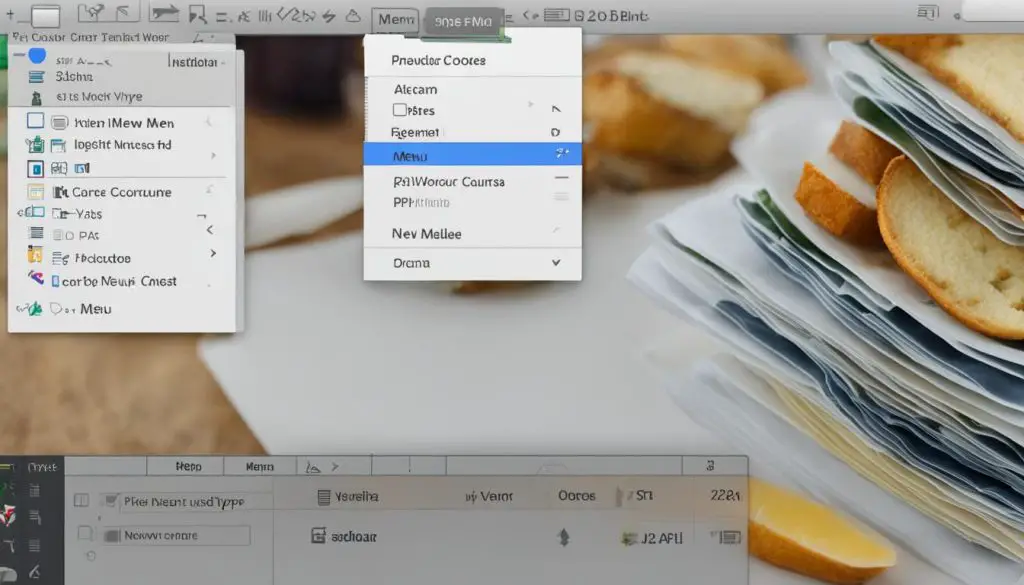
Once you have your image or new project open, it’s time to get creative. You can add layers to your photo by going to the “Layer” menu and selecting “Add New Layer”. This allows you to make edits without altering the original image.
If you want to apply preset stylistic adjustments to your photo, you can explore the various filters available. Simply go to the “Image” menu and select “Filters” to choose from a range of artistic effects.
Finally, when you’re satisfied with your design, save your PSD file by going to “File > Save As…” and selecting the .PSD filetype.

Key Takeaways:
- Creating a new PSD file in Adobe Photoshop is a simple process that can be done with just a few steps.
- You can start by either opening an existing image file or creating a new project from scratch.
- To make changes to your image, add layers and apply filters for different stylistic effects.
- When you’re finished, save your PSD file to preserve all your edits and layers.
- Remember to explore the various tools and features available in Adobe Photoshop to enhance your design process.
Utilizing Templates and Presets for PSD File Creation
In Adobe Photoshop, you have the option to utilize templates and presets to streamline the creation of PSD files. Templates provide inspiration and reusable elements for your documents. You can download templates from Adobe Stock that include quality graphics and illustrations. These templates open as .psd files and generally include multiple artboards.
On the other hand, presets are blank documents with predefined dimensions and settings. They make designing for specific device form factors or use cases easier. You can choose from a variety of preset categories, such as photo, print, art & illustration, web, mobile, and film & video.
Additionally, you can save your own custom presets for future use. This allows you to quickly access your preferred document settings without having to manually input them each time. By utilizing templates and presets, you can significantly speed up your workflow and enhance your design process.
| Category | Description |
|---|---|
| Photo | Templates for photography-related projects |
| Templates for printed materials, such as brochures and flyers | |
| Art & Illustration | Templates for artistic and illustrative designs |
| Web | Templates for web design and user interfaces |
| Mobile | Templates for mobile app design |
| Film & Video | Templates for video editing and motion graphics |
By taking advantage of templates and presets, you can jumpstart your creative projects and achieve professional-looking results with ease.
Opening and Shrinking PSD Files in Photoshop
When working with PSD files in Photoshop, it’s essential to know how to open them and effectively manage their size. Opening a PSD file is easy. You can simply double-click the file or navigate to “File > Open” in the menu bar. Once opened, you can start editing and making changes to the layers and elements within the file.
However, if you’re dealing with large PSD files and want to reduce their filesize for easier sharing or storage, there’s a simple trick you can use. By hiding all the layers in the file, you can significantly shrink its size. To do this, go to the “Layer” menu and select “Hide Layers”. This temporarily hides all the layers, making the file smaller without losing any of the editing capabilities. Remember to save your changes by going to “File > Save” to preserve the reduced filesize.
One important thing to note is that hiding layers is a non-destructive process, meaning you can easily unhide them at any time to resume working on the file. To do this, go back to the “Layer” menu and select “Show Layers”. This will restore all the hidden layers, allowing you to continue editing and making adjustments to your PSD file.
Table: Comparing PSD Filesize before and after Shrinking
| PSD File | Original Filesize | Filesize after Shrinking |
|---|---|---|
| Design A.psd | 25.6 MB | 10.2 MB |
| Design B.psd | 18.4 MB | 6.5 MB |
| Design C.psd | 31.9 MB | 12.8 MB |
As shown in the table above, shrinking the filesize of PSD files can lead to significant reductions in size, making them more manageable and easier to work with. This is particularly useful when you need to share or store your Photoshop projects without taking up too much storage space.
By following these simple steps for opening and shrinking PSD files in Photoshop, you can efficiently manage your design projects and optimize file sizes, ensuring smooth collaboration and storage.

Creating a New Document in Photoshop with Custom Settings
When it comes to creating a new document in Photoshop, you have the flexibility to customize your settings according to your specific project requirements. By using the New Document dialog box, you can define the dimensions, resolution, and color mode of your document. This allows you to tailor your workspace to suit your design needs.
To create a new document with custom settings, you can access the New Document dialog box in multiple ways. You can click on “File > New” in the menu bar, use the keyboard shortcut Cmd + N (Mac) / Ctrl + N (Win), or click the “New…” button on Photoshop’s Home or Start screen.
Once the New Document dialog box is open, you can input your desired width and height for the document. In addition, you can specify the resolution based on whether you are creating screen-based graphics with a standard resolution of 72ppi or print graphics with a higher resolution of 300ppi. Finally, you can select the appropriate color mode for your project, such as RGB for digital designs or CMYK for print materials.
| Setting | Description |
|---|---|
| Width and Height | Specifies the dimensions of the document. |
| Resolution | Determines the level of detail in the document based on pixels per inch (ppi). |
| Color Mode | Defines the color model for the document, such as RGB or CMYK. |
Once you have entered the desired settings, click the “Create” button, and a new document will be generated according to your specifications. This customizable approach to creating a new PSD document in Photoshop allows you to have full control over the parameters of your project, ensuring that it aligns with your creative vision.
Creating a New Document in Photoshop Using Templates
In Photoshop, you can choose to create a new document using templates. Templates provide a starting point for your projects and can be downloaded from Adobe Stock. They include assets and illustrations that you can build on to complete your project. When you open a template in Photoshop, it functions just like any other PSD file.
Templates are a great way to jumpstart your design process and save time. They provide pre-designed layouts and elements that you can customize to fit your needs. Whether you’re creating a flyer, a social media post, or a website mockup, templates offer a wide range of options.
To use a template, simply open it in Photoshop and start editing. You can modify the text, replace the images, and adjust the colors to match your vision. Templates often come with multiple artboards, allowing you to explore different design variations within a single file.

By utilizing templates, you can leverage the expertise of professional designers and take advantage of their creative layouts and designs. This can be especially helpful if you’re new to Photoshop or if you’re looking for inspiration for your projects.
In addition to templates, you can also create a new document using presets. Presets are predefined blank documents with specific dimensions and settings. They make designing for different use cases or device form factors easier. You can choose from various preset categories, such as photo, print, art & illustration, web, mobile, and film & video.
| Template Name | Category | Description |
|---|---|---|
| Modern Business Flyer | A sleek and professional flyer template for business promotions. | |
| Social Media Post Pack | Web | A collection of ready-to-use social media post templates for various platforms. |
| Website Wireframe Kit | Web | A set of wireframe templates to help you plan and structure your website design. |
Using starter templates allows you to focus on the creative aspects of your design and explore different ideas without starting from scratch. It’s a time-saving method that can help you streamline your workflow and create professional-looking designs with ease.
Saving Custom Document Presets in Photoshop
In Photoshop, saving custom document presets can greatly improve your workflow and efficiency. By creating presets with your preferred settings, you can quickly access them for future document creation without having to manually input each parameter. Here’s a step-by-step guide on how to save custom document presets in Photoshop:
Step 1: Create a New Document
To begin, create a new document with the desired width, height, resolution, and color mode. You can access the New Document dialog box by clicking “File > New” or using the keyboard shortcut Cmd + N (Mac) / Ctrl + N (Win). Set the parameters according to your requirements and click “Create” to open the new document.
Step 2: Save the Preset
Once you have your custom document settings applied, navigate to the New Document dialog box. At the top-right corner of the dialog box, you’ll find a small icon that resembles a floppy disk. Click on this icon to save your preset. A pop-up window will appear, prompting you to give your preset a descriptive name. Enter a name that reflects the purpose or specifications of the preset and click “Save”.
Step 3: Access and Use Your Presets
After saving the custom preset, it will be available in the “Saved” category of the New Document dialog box. Whenever you want to create a new document with your preferred settings, simply select your custom preset from the list. Photoshop will automatically apply the preset’s parameters, saving you time and ensuring consistency across your projects.
By saving custom document presets in Photoshop, you can streamline your design process and maintain consistent settings for various projects. Whether you work on web graphics, print materials, or other visual content, custom presets can help you stay organized and efficient. Take advantage of this powerful feature in Photoshop to enhance your workflow and productivity.
Conclusion
Creating a new PSD file in Photoshop is a fundamental skill that allows you to unleash your creativity and bring your design ideas to life. Whether you prefer starting from scratch or using templates and presets, Photoshop offers a versatile platform for unleashing your artistic vision.
By following the step-by-step guide and harnessing the features and tools available, you can confidently create and edit PSD files. These files serve as a valuable format for preserving layers, adjustments, and flexibility throughout the design process.
With the ability to open and shrink PSD files, you can easily collaborate, share, and store your Photoshop projects. By reducing the file size, you can optimize efficiency while maintaining the essential elements of your design.
Explore the possibilities of Photoshop and elevate your design skills with the power of PSD file creation. Through practice and experimentation, you’ll master the art of creating stunning visuals and unlocking your full creative potential.
