Adding custom brushes to GIMP is a straightforward process that can enhance your creativity and streamline your design workflow. By installing new brushes, you can unlock a whole new level of possibilities for your artwork. In this guide, we will walk you through the steps to add brushes to GIMP and expand your artistic toolkit.

Key Takeaways:
- Adding custom brushes to GIMP can enhance your creativity and streamline your design process.
- To install new brushes, copy the brush file to the appropriate brush folder and refresh the brushes in GIMP.
- The location of the brush folder depends on your operating system, and instructions are provided for Windows, macOS, and Linux.
- GIMP supports multiple brush formats, including the default GBR brush format, the animated GIH format, and Photoshop’s ABR brush format.
- You can find and download new brushes for GIMP from reputable websites that offer a wide range of brush presets.
Finding the Brushes Palette
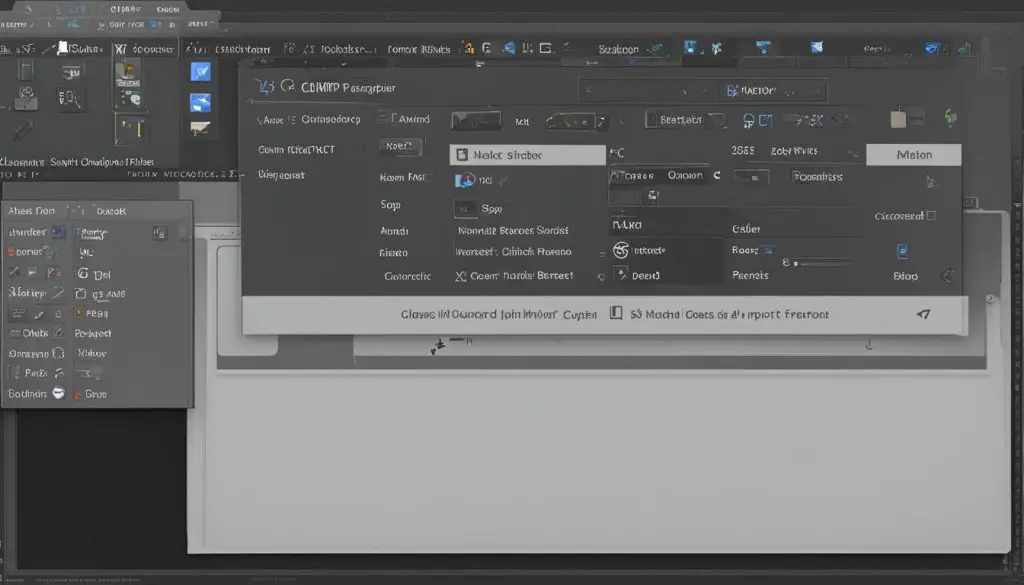
The Brushes palette in GIMP is a crucial tool for accessing and managing your brushes. Whether you’re a seasoned designer or a beginner in GIMP, understanding how to find and utilize the Brushes palette is essential for enhancing your creative workflow. By default, the Brushes palette is conveniently located in the upper right corner of the GIMP window, providing easy access to a wide range of brush options.
However, if you’re unable to locate the Brushes palette, don’t worry. GIMP offers simple solutions to enable and access it. You can find the Brushes palette through the Windows menu by navigating to “Dockable Dialogues” and selecting “Brushes.” Alternatively, you can use the keyboard shortcut Shift + Ctrl + B to quickly enable the Brushes palette.
The Brushes palette offers a user-friendly interface where you can select, organize, and experiment with different brushes. It allows you to preview the appearance of brushes, adjust their settings, and choose the perfect brush for your design needs. With the Brushes palette, you can unleash your creativity and explore the vast selection of brushes available in GIMP.
GIMP Brush Formats
When it comes to importing brushes in GIMP, it’s important to understand the different brush formats that GIMP supports. These formats determine the types of brushes you can use and the creative possibilities they offer. Here are the main brush formats available in GIMP:
Default GBR Brush Format
GIMP uses the default GBR brush format for basic image brushes. These brushes are typically used for painting and adding texture to your designs. You can find a variety of GBR brushes available for download online, allowing you to expand your brush collection and experiment with different effects.
GIH Animated Brush Format
The GIH format is an animated brush format that adds an element of randomness to your brushstrokes. This format allows you to create brushes with dynamic and ever-changing patterns as you paint. Animated brushes can be a great way to add movement and interest to your designs, especially when working on illustrations or digital art.
ABR Brush Format
GIMP also supports the ABR brush format, which is the format used by Adobe Photoshop. This compatibility allows you to import Photoshop brushes into GIMP, expanding your brush selection even further. With the ABR format, you can access a vast library of brushes created by Photoshop users and adapt them to your GIMP workflow.
Understanding these brush formats gives you the flexibility to explore a wide range of brush options in GIMP. Whether you prefer traditional image brushes, animated brushes, or want to import brushes from Photoshop, GIMP has the tools you need to unleash your creativity.

Default GIMP Brush Directories
When adding new brushes to GIMP, it’s important to know the default brush directories based on your operating system. These directories determine where you should save the brush files to make them accessible in GIMP. Here are the default brush directories for the three main operating systems:
| Operating System | Default Brush Directory |
|---|---|
| Windows | C:\Users\Your User Folder\AppData\Roaming\GIMP\2.10\brushes |
| macOS | Users > Your User Name > Library > Application Support > GIMP > 2.10 > Brushes |
| Linux | /home/Your User Name/.gimp-2.10/brushes |
These default brush folders may be hidden by default, so you may need to enable hidden files and folders to access them. Once you locate the appropriate brush directory, you can proceed with downloading and installing new brushes for GIMP.
Downloading and Installing Brushes for GIMP
To download new brushes for GIMP, you can search online for websites that offer free GIMP brushes. These websites provide a wide variety of brush sets created by artists and designers. Once you find a brush set you like, download the brush files to your computer.
After downloading the brush files, navigate to the default brush directory in GIMP. Copy and paste the brush files into the designated folder. Make sure the brush files have the file extension “.gbr” or “.gih” to ensure compatibility with GIMP. Once the files are copied, you can refresh the brushes in GIMP to make the new brushes available for use.
Adding new brushes to GIMP allows you to expand your creative options and explore different brush styles. With the default brush directories and the ability to download and install brushes, you can easily enhance your design projects in GIMP.
Get New Brushes for GIMP
Expanding your collection of brushes in GIMP allows you to explore new creative possibilities and enhance your design projects. To get new brushes for GIMP, you can visit reputable websites that offer a wide variety of brush presets. These websites provide brushes in the .gbr or .gih file formats, which are compatible with GIMP. Simply download the brush files to your computer and follow the steps below to add them to GIMP.

Table: Reputable Websites for GIMP Brushes
| Website | Description |
|---|---|
| BrushKing | A comprehensive collection of free GIMP brushes, categorized for easy navigation and download. |
| DeviantArt | A popular platform for artists and designers, offering a wide range of GIMP brushes created by the community. |
| Obsidian Dawn | A website dedicated to providing high-quality brushes and resources for various graphic software, including GIMP. |
Once you have downloaded the brush files from a trusted source, you are ready to add them to your GIMP brushes collection.
Reminder: Make sure to only download brushes from reputable websites to avoid any potential security risks.
Note: Before proceeding with the next steps, make sure you have GIMP 2.10 or above installed on your computer.
Copy New Brushes to GIMP
Once you have downloaded the new brush files, you need to copy them to the appropriate GIMP brush folder. Here’s a step-by-step guide on how to do it:
- Locate the brush folder on your operating system. On Windows, it is typically located at “C:\Documents and Settings\myusername.gimp-2.10\brushes”. On Linux, the folder is usually found at “.config/GIMP/2.10/brushes”. Note that these paths may vary depending on your specific setup.
- Open the brush folder in a separate window or tab.
- In the download location of the new brush files, select the files you want to add to GIMP.
- Copy the selected brush files.
- Navigate back to the GIMP brush folder and paste the copied brush files into the folder.
Once you have successfully copied the new brush files into the GIMP brush folder, you can proceed to the next step of refreshing the brushes in GIMP to make them available for use.
Example:
“Copying the new brush files to GIMP was a breeze. I simply navigated to the brush folder in my GIMP installation, copied the downloaded brush files, and pasted them into the folder. It’s a straightforward process that allows me to quickly add new brushes to GIMP and unleash my creativity!”
– A satisfied GIMP user
With the new brushes successfully copied to the GIMP brush folder, you are one step closer to expanding your brush collection and enhancing your design projects. In the next section, we will explore how to refresh the brushes in GIMP to make them accessible for your creative endeavors.
| Pros | Cons |
|---|---|
| Simple and straightforward process | Requires manual copying and pasting |
| No need for third-party installation programs | Brushes may not appear immediately without refreshing |
| Allows for customization and personalization | Requires locating the brush folder in your operating system |
Copy New Brushes to GIMP
Refresh Brushes in GIMP
After copying the new brush files to the appropriate GIMP brush folder, the next step is to refresh the brushes in GIMP so that the newly added brushes can be used. The process is simple and can be done within the software itself. Here is a step-by-step guide on how to refresh brushes in GIMP:
- Open GIMP on your computer and navigate to the “Windows” menu.
- In the “Windows” menu, select “Dockable Dialogues” and then click on “Brushes”. This will open the Brushes dialogue where you can manage your brushes.
- Within the Brushes dialogue, locate the refresh icon. The refresh icon usually resembles two circular arrows forming a loop.
- Click on the refresh icon to refresh the brushes in GIMP. This will make the newly added brushes available for use in your designs.
- If the brushes do not appear after refreshing, you may need to restart GIMP for the changes to take effect.
By following these steps, you can easily refresh the brushes in GIMP and start using the newly added brushes in your design projects. Refreshing the brushes ensures that GIMP recognizes and includes the new brushes in its brush library, giving you access to a wider range of creative options.
Remember that adding new brushes to GIMP can greatly enhance your design capabilities, allowing you to explore different styles and techniques. With a refreshed brush library, you’ll have a broader selection of tools at your disposal, enabling you to create unique and captivating designs.
Now that you’ve learned how to refresh brushes in GIMP, you can take your design projects to the next level by incorporating new and exciting brushes into your workflow. Experiment with different brush styles and see how they can transform your designs.
Conclusion
Adding brushes to GIMP is a straightforward process that can greatly enhance your design capabilities. By following the step-by-step guide outlined in this article, you can easily install new brushes, manage different brush formats, and explore a wide range of brush options. Whether you’re a beginner or an experienced designer, incorporating custom brushes into your workflow can elevate your creativity and streamline your design process.
With the ability to download and install brushes from reputable websites, you have access to a vast library of brush presets that can transform your GIMP experience. By simply copying the brush files to the designated brush folder and refreshing your brushes in GIMP, you can easily expand your design possibilities and unlock new creative avenues.
From image brushes in the default GBR format to animated brushes in the GIH format, GIMP provides a versatile platform for brush selection and customization. Additionally, by supporting Photoshop’s ABR brush format, GIMP opens up even more opportunities for brush variety and experimentation.
So, whether you’re looking to add texture, create unique effects, or simply experiment with different brush strokes, adding brushes to GIMP is an essential skill for any designer. Start exploring the endless possibilities today and take your designs to the next level with custom brushes in GIMP.
