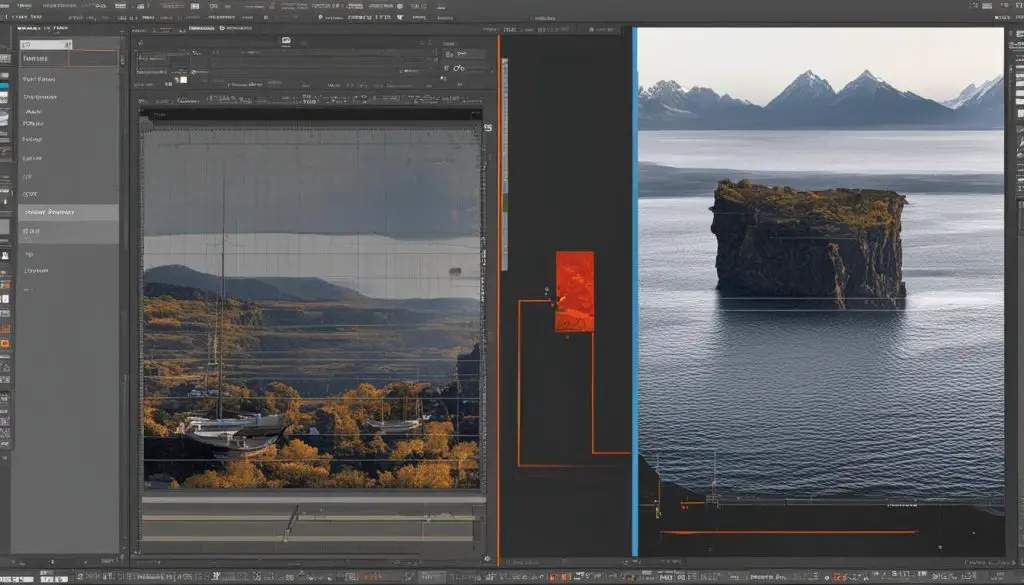
To convert a TIFF file to vector format in Adobe Illustrator, you first need to understand the difference between raster and vector graphics. Raster images are made up of pixels and can become fuzzy or pixelated when zoomed in. On the other hand, vector graphics consist of anchor points and lines, allowing for infinite scalability without losing quality.
In order to convert a raster image to vector in Illustrator, you’ll need to use the Image Trace feature. This tutorial will guide you through the process step-by-step, ensuring that you can easily convert your TIFF files to vector format for optimal design results.

- Understanding the difference between raster and vector graphics is essential for converting TIFF files to vector format in Illustrator.
- The Image Trace feature in Illustrator allows you to convert raster images to vector format by tracing contours and recreating the geometry with anchor points and paths.
- After converting a TIFF file to a vector graphic, you can refine and simplify the design to reduce the number of points while preserving the overall shape.
- Once converted, you can edit and save the vector image in various formats such as PDF, AI, EPS, or SVG.
- Converting TIFF files to vector format in Illustrator opens up a world of design possibilities, making it ideal for laser cutting projects and scaling images without losing quality.
Understanding Raster and Vector Graphics
Raster images and vector graphics are two different types of digital graphics that serve various purposes in design. It is essential to understand the difference between these formats to make informed decisions when converting a TIFF file to a vector format in Illustrator.
Raster images are composed of pixels, which are tiny squares of color that form the overall image. When zoomed in, raster images can become pixelated and lose their clarity. This is because the image is made up of a fixed number of pixels, and zooming in only enlarges those pixels, resulting in a loss of detail.
Vector graphics, on the other hand, are created using mathematical equations that define points, lines, and curves. This means that vector graphics can be scaled infinitely without any loss of quality or resolution. When converting a TIFF file to a vector format, these mathematical equations are used to recreate the image using anchor points and lines, resulting in a scalable and editable graphic.
“Raster images are composed of pixels, while vector graphics are made up of anchor points and lines.”
Converting a TIFF file to a vector format in Illustrator allows for greater flexibility and precision in design. Vector graphics are widely used in applications such as laser cutting and precision design, where accurate and scalable graphics are essential.
Understanding Raster and Vector Graphics
To summarize:
- Raster images are composed of pixels and can become pixelated when zoomed in.
- Vector graphics are made up of anchor points and lines, allowing for infinite scalability without losing quality.
- Converting a TIFF file to a vector format in Illustrator provides greater flexibility and precision in design.
Using Image Trace in Illustrator
When converting a TIFF file to vector format in Adobe Illustrator, the Image Trace feature is a powerful tool to accomplish this task. Image Trace allows you to trace the contours of a raster image and convert it into editable vector objects. To use Image Trace, follow these steps:
- Open your raster file in Adobe Illustrator.
- Select “Image Trace” from the Object dropdown menu. This will open the Image Trace panel.
- Experiment with different presets to find the best results for your image. You can choose from options such as “Black and White Logo,” “Color 6,” or “Sketched Art.”
- Adjust the threshold and other settings to fine-tune the tracing process.
- Preview the traced image to see how it will look.
- Once you are satisfied with the results, click “Expand” to convert the traced image into editable vector objects.
Using the Image Trace feature in Illustrator gives you the flexibility to convert raster images to vector format easily. It is especially useful when working with TIFF files that need to be scaled without losing quality or when you want to edit and modify the image further.

Keep in mind that the Image Trace feature may not always produce perfect results, especially with complex or detailed images. In such cases, manual adjustments may be required to refine the vector graphic further. However, for most standard images, Image Trace provides an efficient and time-saving solution for converting TIFF files to vector format in Illustrator.
Refining and Simplifying the Vector Graphic
After converting your TIFF file to a vector graphic in Illustrator, it’s important to refine and simplify the design to optimize its quality and performance. By reducing unnecessary complexity and streamlining the vector graphic, you can achieve a more efficient and visually appealing result.
One way to refine the vector graphic is by using the “Simplify” function in Illustrator. Select the object you want to simplify, go to the Object menu, and choose Path > Simplify. This feature allows you to reduce the number of anchor points in the design, resulting in a cleaner and more streamlined appearance.
When simplifying the vector graphic, it’s crucial to find the right balance between reducing complexity and preserving the overall shape and dimensions. Too much simplification may result in loss of important details, while too little simplification can lead to a cluttered design. Experiment with different settings and preview the changes to achieve the desired outcome.
Benefits of Refining and Simplifying
There are several benefits to refining and simplifying your vector graphic:
- Enhanced performance: Simplifying the design can reduce file size and improve rendering speed, making the graphic more efficient to work with.
- Cleaner appearance: By eliminating unnecessary points and curves, the vector graphic becomes visually cleaner and easier to understand.
- Smooth scalability: A simplified vector graphic scales more smoothly, ensuring that the design maintains its integrity and quality across different sizes and resolutions.
Remember, the goal of refining and simplifying the vector graphic is to optimize its performance and visual impact. Take the time to experiment with different settings and refine the design until it meets your desired outcome.
| Point | Benefits |
|---|---|
| 1 | Enhanced performance |
| 2 | Cleaner appearance |
| 3 | Smooth scalability |
Editing and Saving the Vector Image
Once you have successfully converted your TIFF file to a vector graphic in Illustrator, you now have the freedom to edit and modify the image according to your design needs. With Illustrator’s versatile tools and features, you can easily make adjustments, change colors, refine shapes, and add or remove elements as necessary. This flexibility allows you to fine-tune the vector image to achieve the desired aesthetic and ensure it meets the specific requirements of your project.
To begin editing the vector image, select the object or elements that you wish to modify. You can use the selection tools in Illustrator to choose individual anchor points, paths, or the entire graphic. With the selected elements, you can change their colors by choosing new fill and stroke options from the Color panel or using the Eyedropper tool to sample colors from other parts of your design. Adjust the shapes of paths and anchor points by using the Pen tool, Curvature tool, or other vector editing tools available in Illustrator’s toolbox.
When editing the vector image, it’s important to maintain the integrity of the design while making necessary changes. Ensure that any alterations you make align with your original vision and do not compromise the overall composition or functionality of the graphic. Take advantage of Illustrator’s multiple layers feature to organize your edits and make it easier to adjust specific elements without affecting the entire design.
Once you are satisfied with the edits to your vector image, it’s time to save your work. To do this, go to the File menu and select Export. Choose a vector format such as PDF, AI, EPS, or SVG, depending on your specific needs. These formats allow for scalability and compatibility with other design programs, making it easier to use your vector image across different platforms or applications without any loss of quality or resolution. By following these steps, you can effectively convert, edit, and save your TIFF files in Illustrator, unlocking the full potential of vector graphics in your design projects.

Comparative Table: Vector Formats
| Format | Pros | Cons |
|---|---|---|
|
|
|
| AI |
|
|
| EPS |
|
|
| SVG |
|
|
Conclusion
Converting a TIFF file to vector format in Illustrator is an essential skill for designers looking to achieve accurate and scalable designs. By understanding the difference between raster and vector graphics, you can ensure that your designs maintain their quality regardless of size or zoom level. Using the Image Trace feature in Illustrator, you can easily convert raster images to vector format, allowing for further customization and editing.
Refining and simplifying the vector graphic is an important step in the conversion process. By reducing the number of points while preserving the overall shape, you can achieve a cleaner and more streamlined design. Illustrator provides tools that allow you to adjust curve precision and other settings to find the perfect balance between simplicity and complexity.
Once your TIFF file has been converted to a vector graphic, you can freely edit and modify the design. Whether you need to change colors, adjust shapes, or add elements, Illustrator provides the flexibility and versatility to meet your design needs. When saving the vector image, choose a vector format such as PDF, AI, EPS, or SVG to ensure scalability and compatibility with other design programs.
With the knowledge and tools provided in this guide, you can confidently convert and edit your TIFF files in Illustrator, unleashing your design potential and achieving optimal results. Whether you’re working on laser cutting projects or need to resize an image without losing quality, Illustrator empowers you to bring your creative visions to life.
