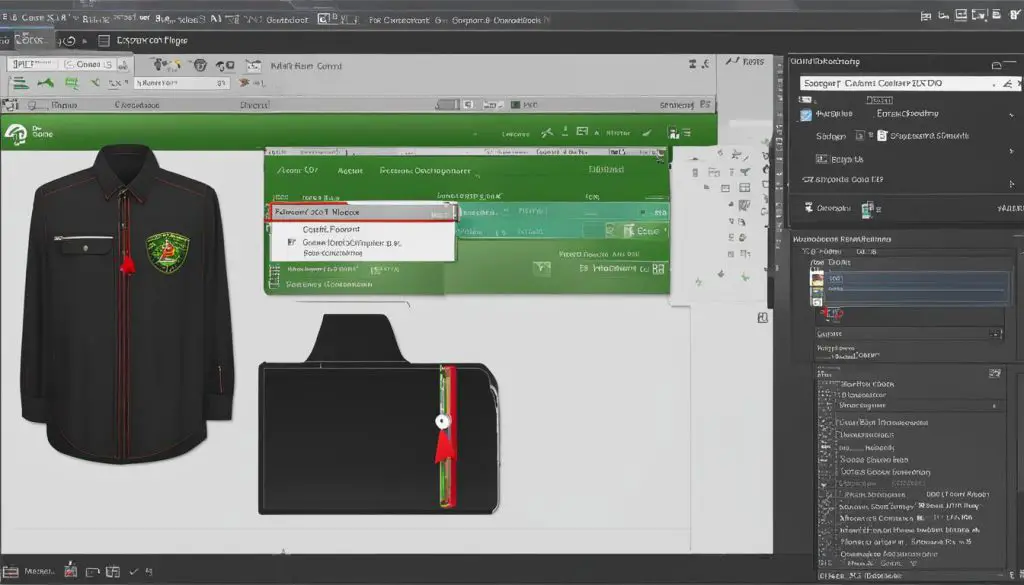
Designing artwork for shirt printing requires knowledge of graphic design tools, such as Photoshop, GIMP, Inkscape, and Corel. Among these tools, GIMP stands out as a free alternative to Photoshop that can perform all the necessary functions for shirt printing. In this guide, we will focus on how to send a GIMP file to a shirt printer successfully.

Key Takeaways:
- Learning graphic design tools like GIMP is essential for shirt printing.
- When preparing a GIMP file for shirt printing, follow specific guidelines regarding format, size, and dimensions.
- Sending a GIMP file to a shirt printer involves compressing the file, selecting the appropriate format, and aligning the design correctly.
- Optimize the design by adjusting colors, using high-resolution images, and proofreading text elements before sending the file to the printer.
- GIMP has advantages but also limitations, so consider alternative tools for specific design requirements.
How to Prepare a GIMP File for Shirt Printing
When it comes to preparing a GIMP file for shirt printing, following the right guidelines is crucial to ensure a successful outcome. Here are some steps to help you prepare and send a GIMP file for shirt printing:
Step 1: File Format and Size
To begin, save your GIMP design in the appropriate file format for shirt printing, which is a transparent background PNG. This format ensures that your design elements will appear seamlessly on the shirt. Additionally, make sure that the file size does not exceed 25MB to ensure smooth transmission and processing.
Step 2: Dimensions and Resolution
Next, it’s important to set the dimensions of your GIMP file to match the printer’s requirements. Typically, a standard shirt printing size is 15×18 inches at 300DPI (dots per inch). This ensures that your design will be sharp and clear when printed on the shirt.
Step 3: Color Accuracy
Accurately representing the colors in your GIMP file is crucial for achieving the desired outcome. Ensure that you are working in the appropriate color mode (usually RGB) and that your design elements are using the correct color profiles. Use the eyedropper tool to verify the color accuracy and make any necessary adjustments before sending the file for printing.
By following these steps and adhering to the guidelines for preparing a GIMP file for shirt printing, you can increase the chances of achieving a high-quality result and a visually appealing design on your printed shirts.
| Step | Description |
|---|---|
| Step 1 | Save your GIMP design as a transparent background PNG file format. |
| Step 2 | Set the dimensions of your GIMP file to match the printer’s requirements (15×18 inches at 300DPI). |
| Step 3 | Ensure accurate color representation by working in the appropriate color mode and using the correct color profiles. |
| Step 4 | Verify the design elements using the eyedropper tool and make any necessary color adjustments. |
How to Send a GIMP File to a Shirt Printer
Sending a GIMP file to a shirt printer involves a series of steps that ensure the successful transfer of the design. Following these best practices will help streamline the process and ensure that the file is delivered accurately and securely.
- Step 1: Compress the File
- Step 2: Choose the Correct File Format
- Step 3: Align the Design Correctly
- Step 4: Communicate with the Printer
- Step 5: Securely Transmit the File
To make the file easier to transfer, it is recommended to compress it before sending it to the printer. This reduces the file size and speeds up the transfer process. There are various compression tools available online that can be used to zip the file.
The ideal file format for sending a GIMP file to a shirt printer is PNG (Portable Network Graphics). PNG files support transparency, which is important for ensuring that the design integrates seamlessly with the fabric. Make sure to save the GIMP file in PNG format before sending it.
Before sending the GIMP file, ensure that the design is correctly aligned on the printable area. This will ensure that the design is displayed accurately on the final product. Use the shirt printer’s guidelines to determine the correct placement and alignment for the design.
Effective communication with the shirt printer is crucial to sending a GIMP file successfully. Reach out to the printer to confirm their specific requirements and any additional instructions or preferences they may have. This will help avoid any misunderstandings and ensure that the file meets their specifications.
When sending the GIMP file to the printer, use a secure online portal or a reliable file transfer service to ensure the privacy and integrity of the file. Transmitting the file securely protects it from unauthorized access and ensures that it reaches the printer without any corruption or loss of data.
Following these steps and best practices will help ensure a smooth and efficient process when sending a GIMP file to a shirt printer.
Tips for Successful Shirt Printing with GIMP Files
To ensure successful shirt printing with GIMP files, there are several important tips to keep in mind. First and foremost, it is crucial to optimize your design for print. This involves adjusting the colors, contrast, and sharpness to ensure that the final printed result accurately represents your intended design. Use high-resolution images and vector graphics whenever possible to maintain clarity and sharpness, especially when scaling your design to different sizes.
Proofreading is another essential step in the printing process. Make sure to double-check any text elements in your GIMP file to avoid spelling or grammatical errors. These errors, no matter how small, can significantly impact the overall impression of your design. Taking the extra time to proofread will ensure that your final printed shirts are professional and error-free.
In addition to design optimization and proofreading, it is crucial to always double-check the file dimensions and format before sending it to the printer. Make sure that the dimensions of your GIMP file match the printer’s requirements. This will help prevent any resizing or cropping issues that can lead to unexpected print results. Furthermore, ensure that you are saving your GIMP file in the appropriate file format, such as PNG, as specified by the printer.

By following these tips, you can increase the chances of a successful shirt printing experience with your GIMP files. Remember that proper preparation and attention to detail are key to achieving high-quality print results. Whether you are printing a small batch of shirts for personal use or ordering a large quantity for a business, taking the time to optimize and double-check your GIMP files will ensure that your shirts look professional and visually appealing.
Advantages and Limitations of GIMP for Shirt Printing
GIMP is a powerful graphic design tool that offers several advantages for shirt printing. First and foremost, one of the biggest advantages is that GIMP is available for free. This makes it accessible to a wide range of users who may not have the budget for expensive design software. Additionally, GIMP is versatile and capable of performing various design functions, such as image editing, color correction, and adding text and graphics to create unique shirt designs.
Another advantage of using GIMP for shirt printing is its compatibility with different file formats. GIMP supports common file formats like PNG, JPEG, and GIF, allowing users to easily export their designs in the required format for printing. This flexibility ensures that designers can work with different printers without compatibility issues.
However, it’s important to note that GIMP also has some limitations when it comes to shirt printing. One limitation is its handling of complex vector graphics. While GIMP can handle basic vector shapes and paths, it may not be the ideal choice for intricate and detailed vector designs. In such cases, other design tools like Inkscape or Corel Draw may be better suited for creating and editing vector graphics.
Additionally, GIMP’s resizing capabilities may not always produce optimal results for larger print sizes. When scaling up designs in GIMP, there may be a loss of quality and sharpness, especially if the original image resolution is low. It’s important to consider the intended print size and resolution when using GIMP for shirt printing to ensure that the final result meets the desired quality standards.
| Advantages of GIMP for Shirt Printing | Limitations of GIMP for Shirt Printing |
|---|---|
| GIMP is available for free | GIMP may not handle complex vector graphics well |
| GIMP is versatile and can perform various design functions | GIMP’s resizing capabilities may result in loss of quality for larger print sizes |
| GIMP is compatible with different file formats |
Overall, GIMP is a valuable tool for shirt printing, offering accessibility, versatility, and compatibility. Understanding its advantages and limitations can help designers make informed decisions about when and how to use GIMP effectively for their shirt printing projects.
Conclusion
Sending a GIMP file for shirt printing requires careful preparation, adherence to guidelines, and effective communication with the printer. By following the steps outlined in this guide and considering the tips provided, individuals can successfully send GIMP files to shirt printers. GIMP, along with other design software, offers the necessary tools for creating high-quality and visually appealing designs for printing on shirts. With practice and continued learning, the process of sending GIMP files for shirt printing can become smoother and more efficient.
Remember to always prepare the GIMP file according to the printer’s requirements, ensuring it is in the right format and dimensions. Compressing the file and securely transmitting it to the printer are essential for a seamless process. Additionally, optimizing the design for print, using high-resolution images, and proofreading text elements are crucial for successful shirt printing with GIMP files.
While GIMP has its advantages, such as its availability and versatility, it is important to acknowledge its limitations, especially when working with complex vector graphics or resizing images for larger print sizes. When necessary, consider alternative tools like Inkscape or Corel Draw to meet specific design requirements.
In conclusion, with the right knowledge and techniques, sending GIMP files for shirt printing can be a rewarding and successful endeavor. By mastering the art of preparing, sending, and optimizing GIMP files, individuals can bring their creative visions to life on custom-printed shirts.
