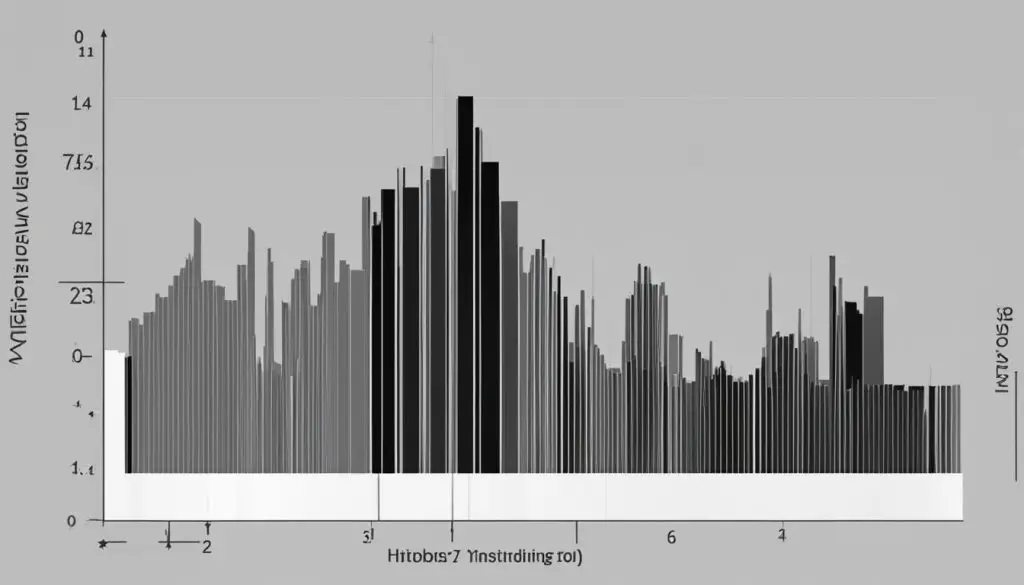
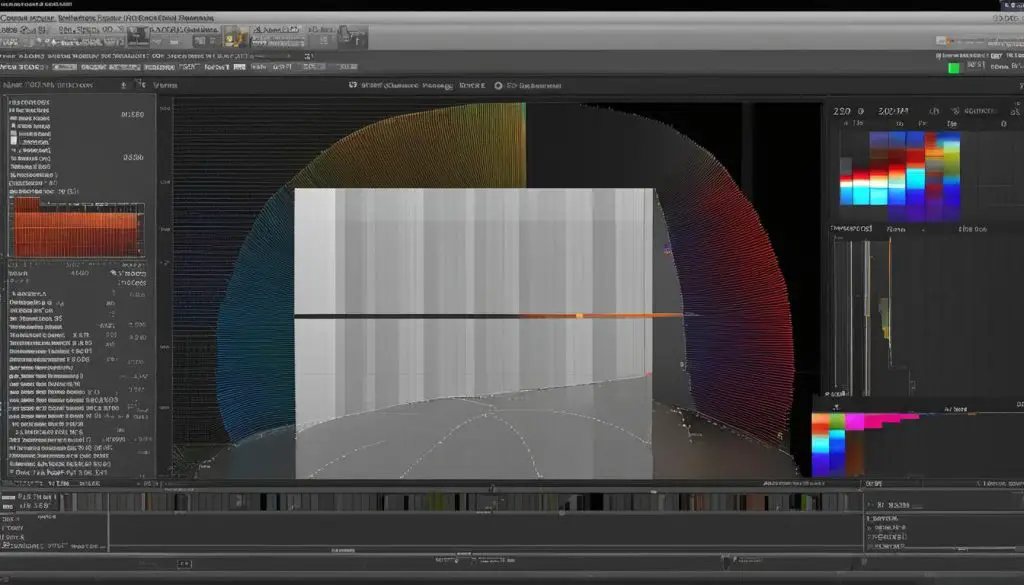
A histogram is a graph that represents the tones in an image, including highlights, shadows, and midtones. It is a valuable tool in photography for evaluating exposure and making adjustments. Understanding how to read and use a histogram in GIMP is essential for enhancing your photos and creating stunning images.

Key Takeaways:
- The histogram in GIMP is a graph that displays the distribution of tones in an image.
- Reading a histogram involves analyzing the shape and distribution of the graph.
- The histogram tool in GIMP can be used to adjust exposure and enhance the tonal range of an image.
- GIMP offers advanced techniques and plugins for histogram analysis.
- Utilizing tips and tricks can help you effectively use the histogram tool in GIMP.
What is a Histogram and Why is it Important?
A histogram is a graph that displays the distribution of tones in an image. It shows the brightness values from dark shadows to bright highlights. Understanding histograms is important in photography as it allows you to evaluate exposure and ensure a well-balanced image. In GIMP, the histogram tool provides valuable information about the tonal range and allows for analysis of the image’s exposure.
By analyzing the histogram, you can determine if your image has overexposed or underexposed areas. An overexposed image will have a histogram that is shifted towards the right, indicating a lack of dark tones. On the other hand, an underexposed image will have a histogram shifted towards the left, indicating a lack of bright tones. A well-exposed image will have a histogram that is evenly balanced across the tonal range.
“Understanding histograms is essential for evaluating exposure and ensuring a well-balanced image.”
The histogram also helps in identifying any clipping in the shadows or highlights. Clipping occurs when areas of the image are completely black (shadow clipping) or completely white (highlight clipping), resulting in loss of detail. By analyzing the histogram, you can adjust the exposure settings to prevent clipping and preserve the details in both the shadows and highlights.
The histogram tool in GIMP provides a visual representation of the tonal values in an image, allowing you to make informed decisions regarding exposure adjustments. By understanding how to interpret the histogram, you can ensure accurate exposure and create visually appealing images with a well-balanced tonal range.
Table: Key Takeaways
| Key Points | |
|---|---|
| A histogram is a graph that displays the distribution of tones in an image. | Understanding histograms is important in photography for evaluating exposure and ensuring a well-balanced image. |
| By analyzing the histogram, you can determine if your image has overexposed or underexposed areas. | Understanding how to interpret the histogram will help you make adjustments to achieve the desired exposure. |
| The histogram also helps in identifying any clipping in the shadows or highlights. | By analyzing the histogram, you can adjust the exposure settings to prevent clipping and preserve the details in both the shadows and highlights. |
| The histogram tool in GIMP provides a visual representation of the tonal values in an image. | By understanding how to interpret the histogram, you can ensure accurate exposure and create visually appealing images with a well-balanced tonal range. |
How to Read a Histogram in GIMP
Reading a histogram in GIMP is an essential skill for photographers who want to accurately evaluate exposure and make adjustments to their images. By analyzing the shape and distribution of the graph, you can determine if the image is well-exposed or if there are any issues with clipping in the shadows or highlights. Let’s take a closer look at how to interpret the histogram and use it effectively in GIMP.
The histogram in GIMP displays the tonal range of an image, with shadows on the left side, highlights on the right side, and midtones in the middle section. By examining the curve of the graph, you can get a sense of the overall brightness and contrast of the image. If the graph slopes to the left, it indicates that the image is darker, while a slope to the right suggests a brighter image. A balanced histogram with a curve that fills the entire width of the graph indicates a well-exposed image.
In addition to the overall shape of the histogram, it’s important to pay attention to the ends of the graph. If the graph is cut off at either end, it means that there is clipping in the shadows or highlights, where detail is lost. Clipping in the shadows results in black areas with no visible details, while clipping in the highlights leads to white areas without any texture or information. Avoiding clipping is crucial for achieving a well-exposed image with a full range of tones.
By understanding how to read and interpret the histogram in GIMP, you can make informed adjustments to your images. If the histogram shows that the image is underexposed, you can increase the exposure or brightness to bring more details into the shadows. Conversely, if the histogram indicates overexposure, you can decrease the exposure or highlights to recover details in the blown-out areas. The histogram is a powerful tool that allows you to fine-tune the exposure and ensure the best tonal balance for your photographs.
Example
“The histogram showed that the image had a steep slope to the right, indicating overexposure. I adjusted the exposure and highlights in GIMP to bring down the brightness and recover details in the blown-out areas. After making these adjustments, the histogram became more balanced, with a curve that filled the entire width of the graph. The image now had a full range of tones, from deep shadows to bright highlights.”
Now that you know how to read a histogram in GIMP, you can confidently evaluate exposure and make adjustments to enhance your images. Understanding the histogram is a valuable skill for photographers, allowing you to create well-exposed and visually stunning photographs.
Using Histogram for Exposure Adjustment in GIMP
The histogram tool in GIMP provides a powerful way to adjust the exposure and enhance the tonal range of your images. By analyzing the histogram and making adjustments to the curve, you can effectively brighten or darken specific tones in your image, resulting in a well-balanced and visually appealing photo.
One technique for exposure adjustment using the histogram in GIMP is histogram equalization. This technique redistributes the pixel values of an image to achieve a more balanced distribution across the tonal range. It helps enhance the overall contrast and bring out details in the shadows and highlights. By applying histogram equalization, you can create a more dynamic and visually striking image.
Another technique is histogram stretching. This technique involves expanding the dynamic range of an image by stretching the histogram curve. It can help improve the overall tonal range and enhance details in both dark and bright areas. Histogram stretching is particularly useful when dealing with images that have low contrast or suffer from underexposure or overexposure.
To use histogram equalization or stretching in GIMP, simply go to the Colors menu, select Levels, and adjust the histogram curve according to your desired effect. Experiment with different settings and observe the changes in the histogram to achieve the desired exposure adjustment. Remember to use these techniques judiciously and in moderation to avoid creating an artificial or unrealistic look in your photos.
The histogram tool in GIMP is a valuable asset for photographers looking to enhance their post-processing workflow. By understanding how to use the histogram for exposure adjustments, such as histogram equalization and stretching, you can take full control of the tonal range in your images and create visually stunning results.
Advanced Techniques for Histogram Analysis in GIMP
In addition to basic exposure adjustments, GIMP offers advanced techniques for histogram analysis. These techniques can help you fine-tune the histogram curve and achieve even more precise adjustments in your images. One of the ways to take your histogram analysis to the next level is by utilizing histogram plugins.
GIMP offers a variety of histogram plugins that can enhance the functionality of the histogram tool. These plugins provide additional features and options for manipulating the histogram, allowing you to have more control over your adjustments. Whether you need to adjust the tonal range, enhance specific color channels, or apply advanced manipulation techniques, histogram plugins can greatly expand your capabilities in GIMP.
Utilizing Histogram Stretching for Enhanced Dynamic Range
One powerful technique available in GIMP is histogram stretching. This technique allows you to expand the dynamic range of an image, bringing out details in both the darker shadows and brighter highlights. Histogram stretching can help improve the overall tonal balance of your image and make it more visually appealing.
To apply histogram stretching in GIMP, you can use the “Colors” menu and select the “Auto” option under the “Stretch Contrast” submenu. This will automatically adjust the histogram curve to maximize the tonal range in your image. Alternatively, you can manually adjust the histogram curve by dragging the endpoints to stretch or compress specific tonal ranges.
| Before Histogram Stretching | After Histogram Stretching |
|---|---|
 |
By utilizing advanced techniques like histogram plugins and histogram stretching, you can unlock new possibilities for histogram analysis in GIMP. These techniques allow you to make precise adjustments to the tonal range, enhance specific color channels, and expand the dynamic range of your images. Experimenting with these advanced techniques will help you elevate the quality of your photos and achieve your desired artistic vision.
Tips and Tricks for Using Histogram in GIMP
When it comes to using the histogram tool in GIMP, there are several tips and tricks that can help you make the most out of this powerful feature. Whether you’re looking to analyze the tonal range of your image or make precise exposure adjustments, these techniques will enhance your post-processing workflow and give you more control over your final results.
Adjust Individual Color Channels
One useful tip is to adjust individual color channels to correct any color imbalances in your image. By examining the histogram for each channel, you can identify areas where there is an overabundance or lack of certain colors. For instance, if you notice that the red channel is overexposed, you can make targeted adjustments to bring it back into balance. Exploring and tweaking individual color channels can help you achieve more accurate and vibrant colors in your photographs.
Utilize the Target Adjustment Tool
GIMP’s target adjustment tool is a handy feature that allows you to make precise adjustments based on specific tonal ranges. By selecting this tool and clicking and dragging on the histogram, you can target specific tones and make adjustments to them without affecting the rest of the image. This technique is particularly useful when you want to enhance or correct specific areas without altering the overall exposure. It gives you greater control over the tonal range and allows for more localized adjustments.
Set Tonal Limits
To control the overall tonal range of your image, you can set tonal limits in GIMP. This technique involves defining the darkest and lightest points in the image, effectively compressing or expanding the tonal range. By adjusting the tonal limits, you can achieve a desired level of contrast and create a more balanced and visually appealing image. Experimenting with different tonal limits can help you fine-tune the overall tonality of your photographs.
By implementing these tips and tricks, you can effectively use the histogram tool in GIMP for analyzing tonal ranges, making exposure adjustments, and achieving stunning results in your post-processing workflow. Understanding how to adjust individual color channels, utilize the target adjustment tool, and set tonal limits will give you the creative control you need to enhance your images and bring out their full potential.
| Tip | Description |
|---|---|
| Adjust Individual Color Channels | Examine and tweak individual color channels to correct color imbalances and achieve accurate and vibrant colors. |
| Utilize the Target Adjustment Tool | Make precise adjustments to specific tonal ranges without affecting the rest of the image. |
| Set Tonal Limits | Control the overall tonal range of your image by defining the darkest and lightest points. |

Remember, the histogram tool in GIMP is a powerful resource that can greatly enhance your post-processing capabilities. By mastering these tips and tricks, you can take full advantage of the histogram’s potential and create visually stunning photos.
Conclusion
Mastering the histogram tool in GIMP is crucial for photographers who aim to achieve accurate exposure and enhance the tonal range of their images. By understanding how to read and interpret histograms, make exposure adjustments, and utilize advanced techniques, you can take full control of your image editing process. With the comprehensive guide provided in this article, you now have the knowledge and tools to unlock the power of the histogram in GIMP and create stunning photos.
The histogram in GIMP is not just a simple graph, but a powerful tool that allows you to analyze the distribution of tones in your images. By taking the time to study and understand the histogram, you can make informed adjustments to achieve the desired exposure and enhance the overall quality of your photos.
Remember, the histogram in GIMP is not a one-size-fits-all solution. It is important to experiment with different adjustments and techniques to find what works best for each individual image. Don’t be afraid to explore the various options and plugins available in GIMP to further expand your histogram analysis and adjustment capabilities.
